
#
Mangio
Last update: Mar 8, 2024
#
#
Introduction
Mangio RVC is a fork of RVC, Mangio621, Kalomaze, & Alexolotl
Considered one of the best forks out there. Mainly because of it's extra features, inclusion of Mangio-Crepe, & its stability.
The project nowadays is a little abandoned, so don't expect many updates from the developers soon, unfortunately.
#
Pros & Cons
The pros & cons are subjective to your necessities.
- A little slower than Mainline, since it's more bloated.
- Will likely remain with no updates for a long time.
- Manual model upload.
#
#
#
Installing & Opening
#
For exclusively inferencing, click here.
For both inferencing & training, click here.Once it's done downloading, unzip the folder.
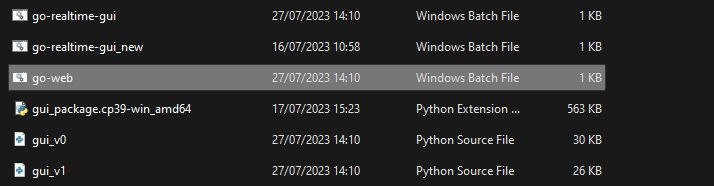
Open RVC's folder, find the "
go-web.bat" file and execute it.
It will then open a console, & after a moment your default web browser with RVC ready to be used.
(Optional) To access RVC more easily, make a shortcut of the
go-webfile.
Don't close the console until you're done using RVC, or it will stop working.
#
#
#
#
1. Upload voice model.
Open Mangio's folder & put your model's .PTH file inside the
weightsfolder.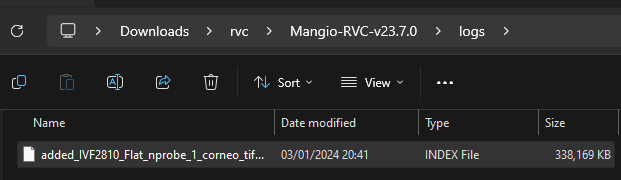
#
Put the model's .INDEX file in the
logsfolder.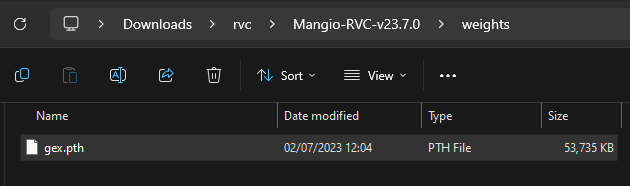
#
#
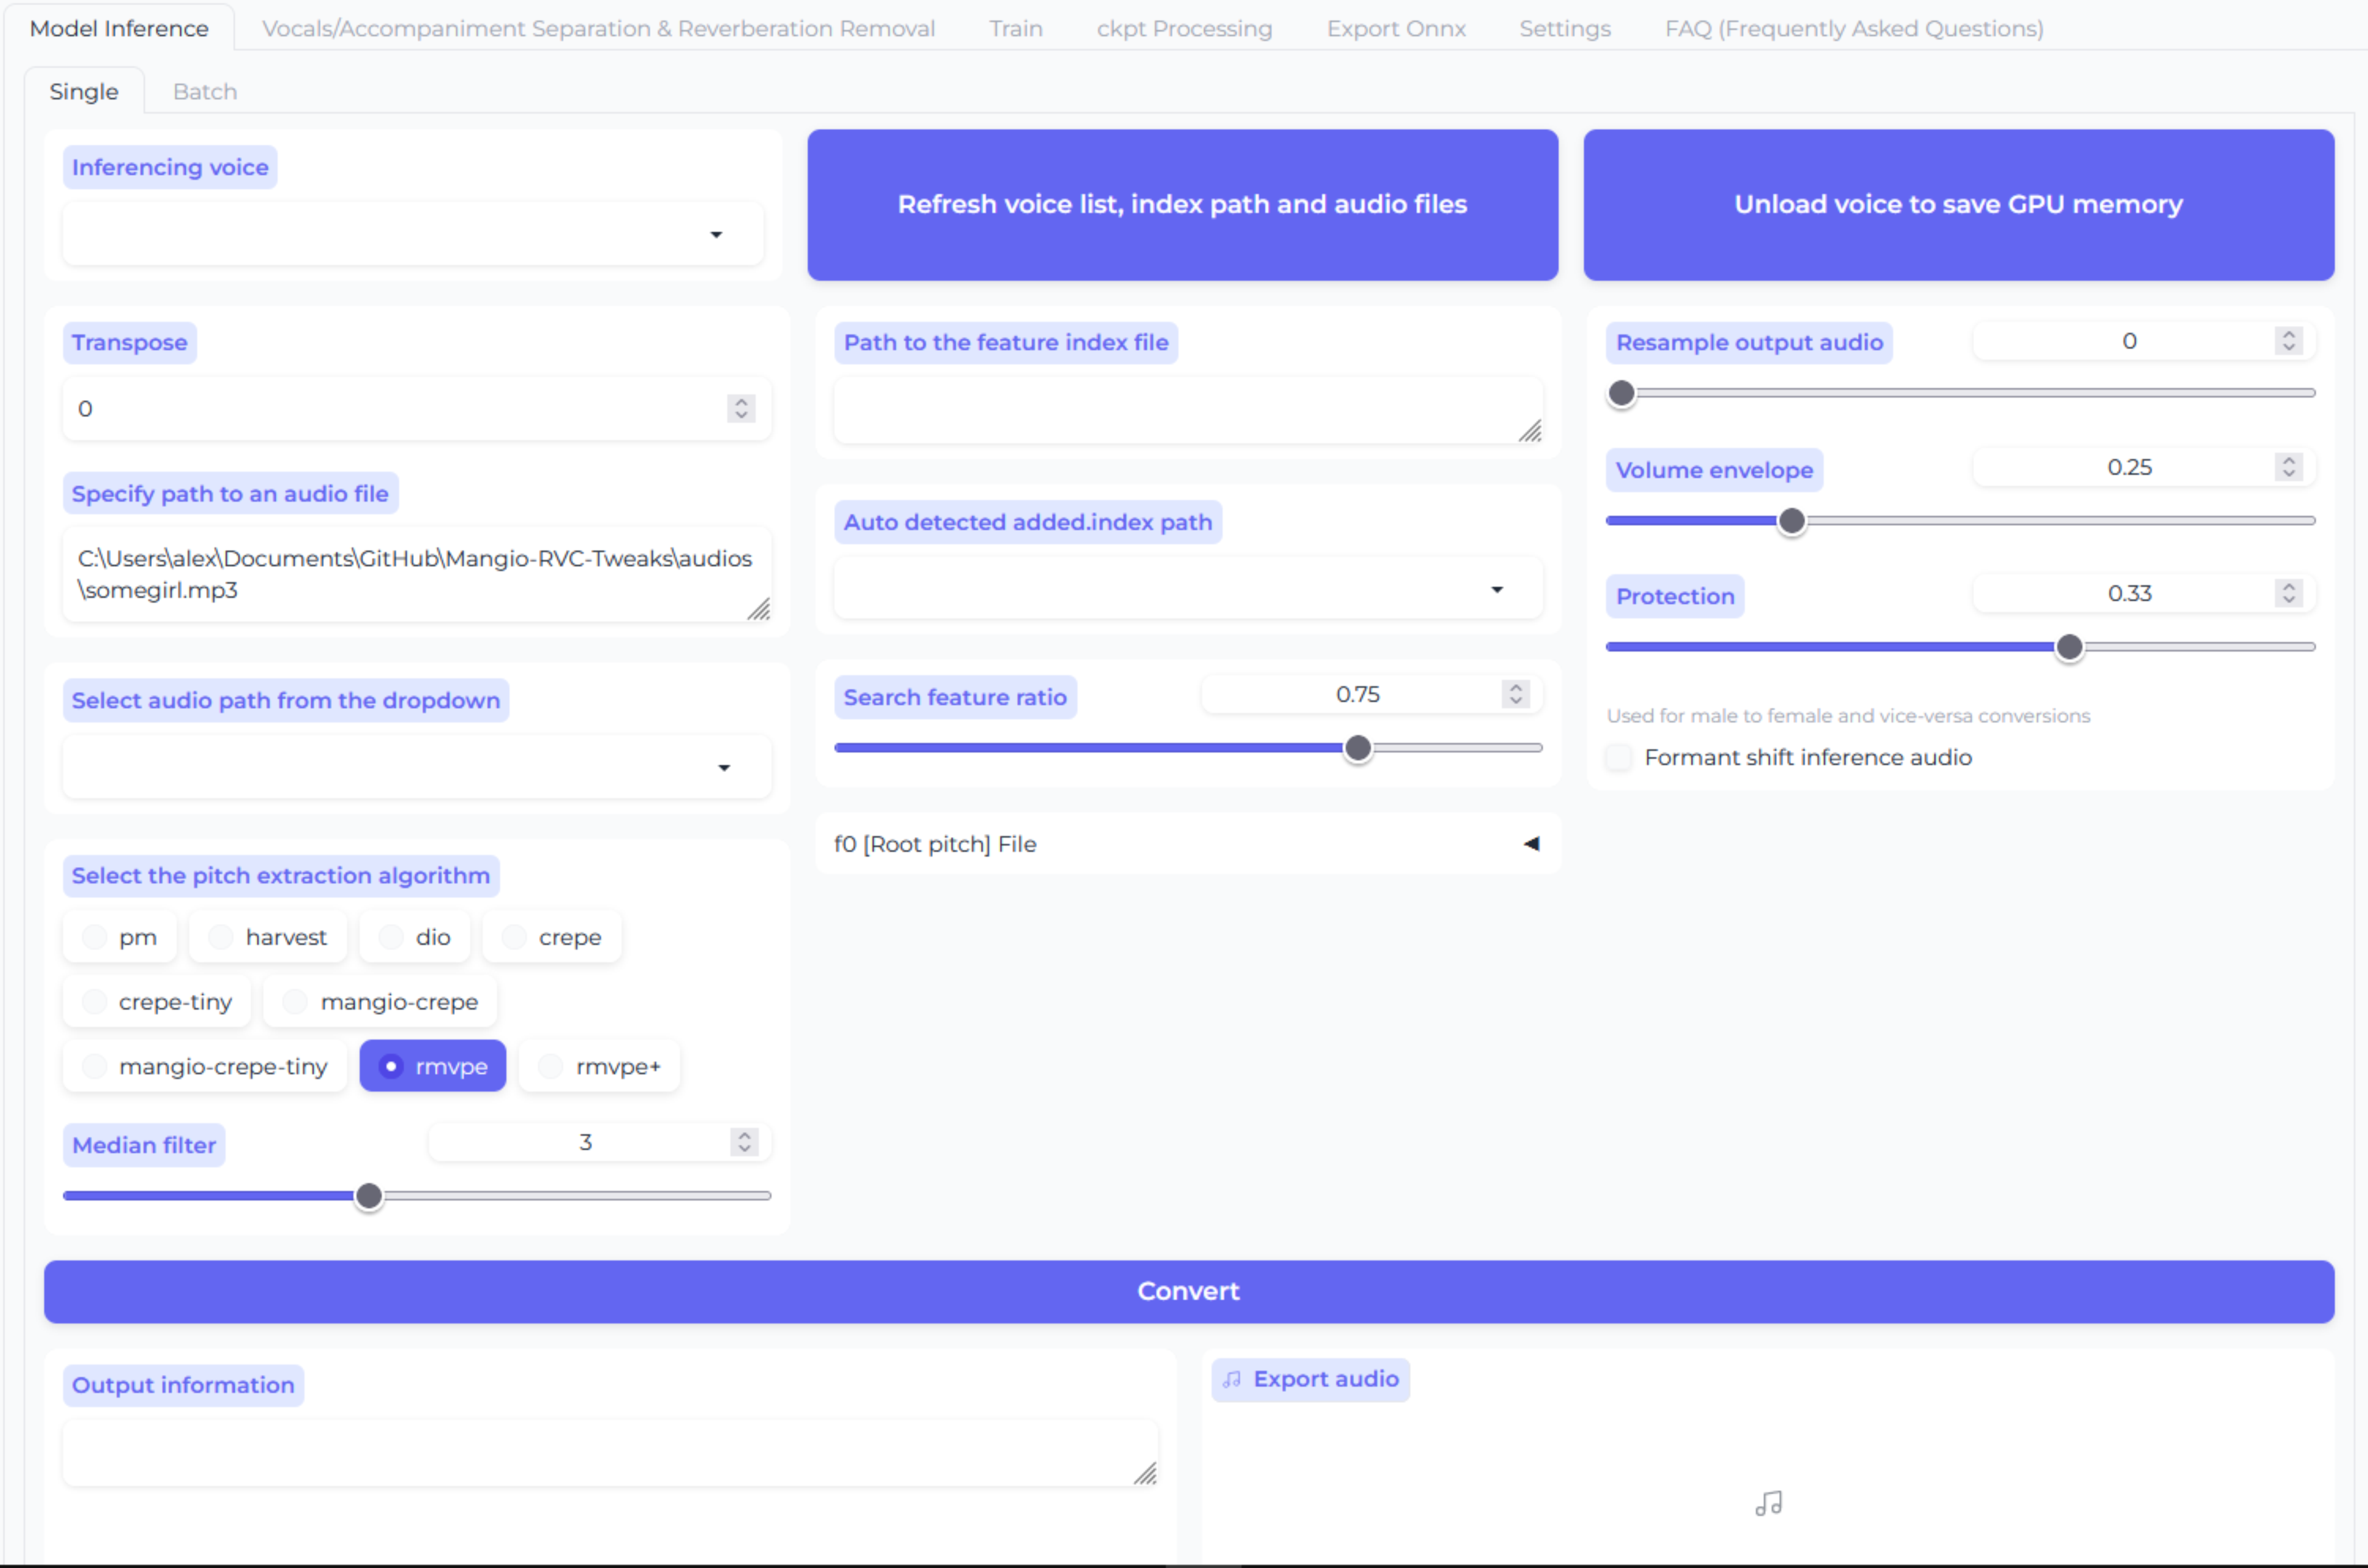
2. Select voice model.
In RVC, click the upper
Refresh voice listbutton.
In its left, click
Inferencing voice& select your model.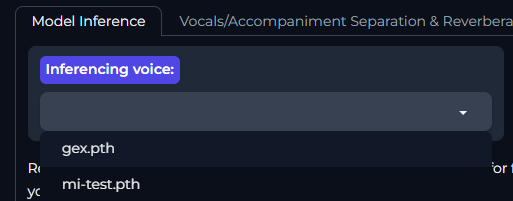
#
#
3. Select vocals.
In Specify path to an audio file paste the path file of your audio.
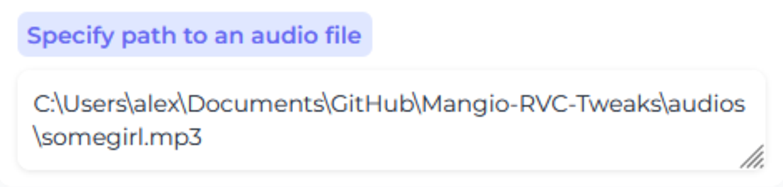
If there are multiple audios in said path, click Select audio path from the dropdown & select the one you want.
#
#
4. Modify settings. (optional)
If you wish, modify the inference settings on display accordingly for better results.
#
#
5. Convert.
Click the long Convert button at the bottom & it will begin to convert.
The processing time will mainly depend on your specs, length of audio, & the algorithm picked.
#
#
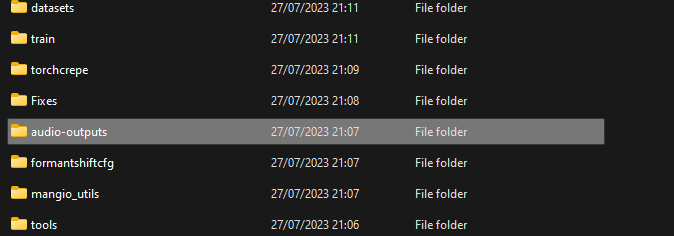
6. Locate the output.
Once it's done processing, a playable audio will pop up in the Export audio box.
Your output audios will be located in Mangio's audio-outputs folder.
#
#
#
Training
#
NOTES:
The training guide will be centered around using TensorBoard. Read about it first if you haven't already.
If you encounter an issue, be sure to read the Troubleshooting chapter.
#
#
#
Step 1
#
#
1. Go to training area.
Open RVC & head over to the Train tab.

#
#
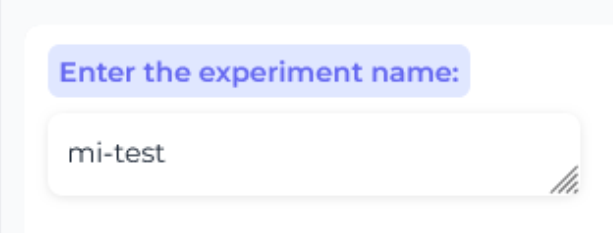
2. Name the model.
In Enter the experiment name you insert a name for your model. Don't include special characters or spaces.
#
#
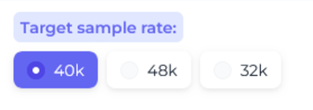
3. Select Target Sample Rate.
In Target sample rate select the number that matches your dataset's sample rate.
Inputting an incorrect one might screw up the final quality.
#
#
Step 2a
#
#
4. Select dataset.
Open Mangio's folder, go to datasets folder & move your dataset there.
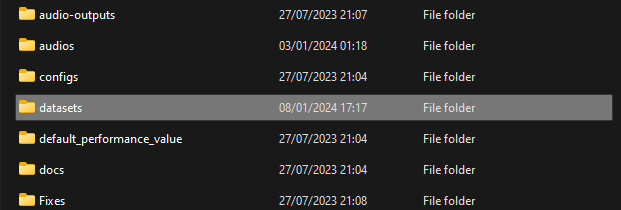
Once training is done, be sure to remove the dataset from there.
#
#
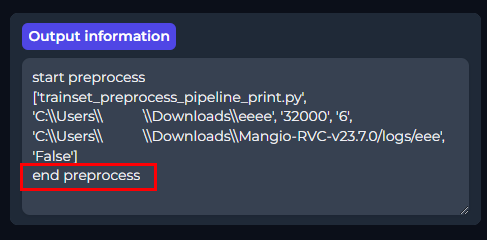
5. Process data.
Click the Process Data button on the center.
RVC will process the previous criteria for the training.
But also the dataset file, which might take a moment depending on how big it is.
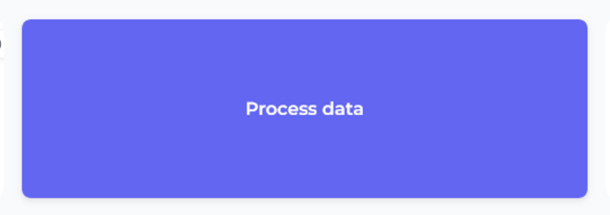
It'll finish when the output box on the right says end preprocess.
#
Step 2b
#
#
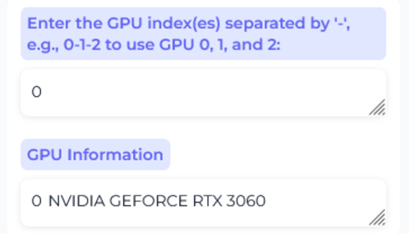
6. Select GPUs.
In Enter the GPU index(es) determine which GPU(s) you'll use for training, by indicating the index followed by the dash (e.g: 0).
#
#
7. Select pitch extraction algorithm.
At the right select the Pitch extraction algorithm.
Only useRMVPE,CrepeorMangio-Crepe, as the rest are obsolete.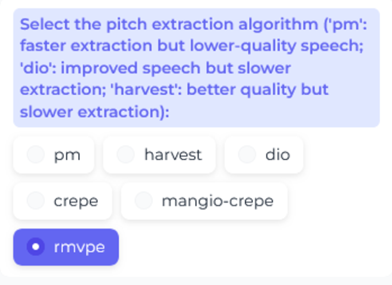
# Now click the
Feature extractionbutton on the right.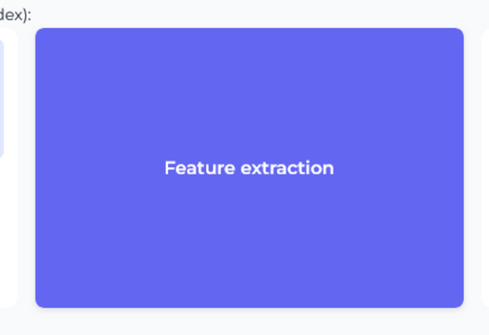
It'll finish when the output saysall-feature-done.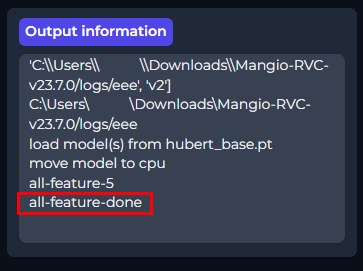
#
#
8. Create .INDEX file.
Now click the Train feature index button on the bottom.
This will create the .INDEX file.
It'll finish when the output box says Successful index Construction.

#
#
Step 3
#
#
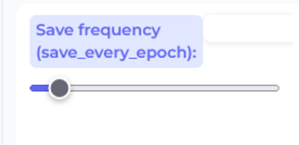
9. Select save frequency.
Frequency of the saving checkpoints, based on the epochs.
If you are a newbie, simply leave it at 15.
E.g: with a value of 10, they will be saved after the epoch 10, 20, 30, etc.
#
#
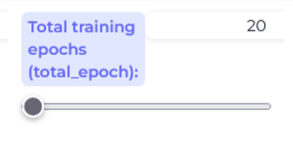
10. Input epochs amount.
In Total training epochs you determine the total amount of epochs (training cycles) for the model.
But since we'll use TensorBoard, use an arbitrarily large value like 2000.
#
#
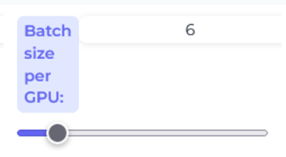
11. Select batch size.
Leave Batch size per GPU at 8 if you aren't familiar with it.
If your dataset is short (around 2 minutes or less), use 4 instead.
#
#
12. Launch TensorBoard.
Now before you start training, open TB.
If you haven't already, start reading about it here here.
#
#
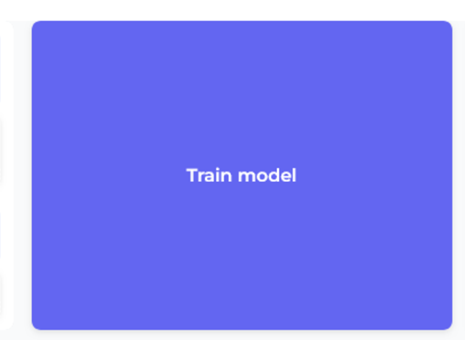
13. Begin training.
Start training the model by clicking Train model.
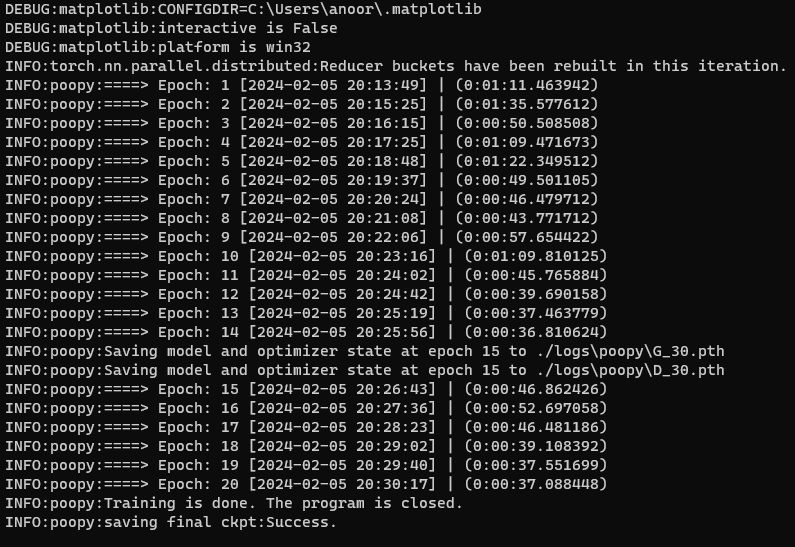
Remember to monitor TB, & also the console just in case.
The latter will show you errors if they happen, and information about the epochs & checkpoints.happen.
#
#
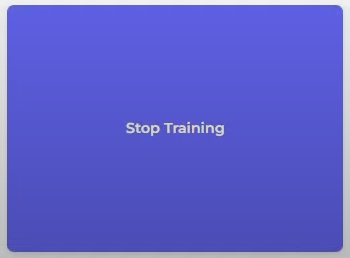
14. Stop training.
When you are very sure of overtraining, you can stop training by pressing the Stop training button where Train model used to be.
#
#
15. Gather model's files.
Create a new folder anywhere named as your model.
Open RVC's folder, go to
logs, and open the folder named with the model.
Select the.INDEXnamedadded_& move it to your newly made folder.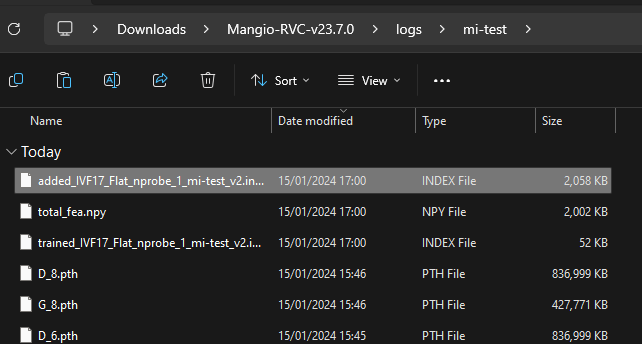
Now go to the
weightsfolder. Here you'll find the model's checkpoints.Select the one closest to before the overtraining point, and move it to the new folder
These files will be organized with this format: ModelName_Epoch_Step.pth
Example:
kalomaze_e60_s120.pth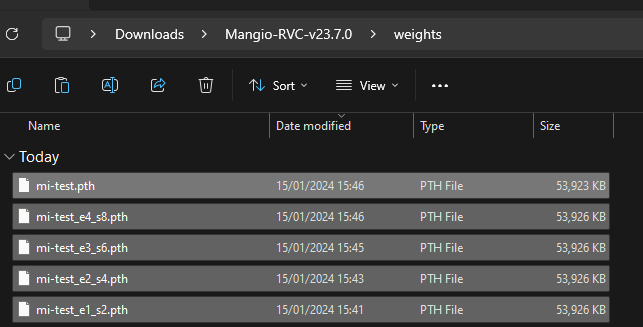
And that's all. Have fun with your model.
To test the model, do a normal inference as usual.
#
#
Resuming
#
If the training finished but the model still needed training, you don't have to start from scratch.
Follow this procedure:
Simply enter the same settings and criteria that you previously inserted. Model name, sample rate, dataset, batch size, etc. You don't have to press
Process Dataor train the .INDEX again.You can change the save frequency, or increase the epochs amount in case you didn't input enough before.
Begin training again & remember to monitor TB & console like before.
#
#
#
Troubleshooting
#
#
- If it's lower than 32k: select
32k.
- If it's 44.1k: select
40k.
- If i'ts higher than 48k: select
48k.
#
- This a phenomenon called artifacting. To fix it, read here.
#
- Report your issue here.