
#
AICoverGen
Last update: Mar 4, 2024
#
#
Introduction
The AICoverGen Colabs are a port of the AICoverGen RVC fork to Google Colab.
These are ideal for users who want 'quick & dirty' AI covers, as the whole process of inputting audio, vocal isolation & song mixing is automated.
The pitch control is limiting & inconvenient, so if you want a Colab with more control over it, use Ilaria RVC instead.
# The two versions of the port are: AICoverGen NO UI and AICoverGen UI.
#
#
AICoverGen NO UI
#
#
Description
This is the version of the port that doesn't have the premade user interface. Credits to Eddy & Raid. Base notebook by Ardha27.
It's an upgrade from the original Colab space, bringing bug fixes, improvements, & extra features.
The NO UI counterpart is mainly preferred due to being more stable compared with the UI version.
#
Pros & Cons
The pros & cons are subjective to your necessities.
- Automatic vocal extraction.
- Song mixing tool.
- Has Mangio-Crepe.
- Automatic model upload.
- Input audio with YouTube links.
- Can get the stems files.
- More stable.
- Usage limit for free users.
- Takes 6 mins to load.
- UI is incovenient.
- No control over the stem separation.
- The extraction will always run, you'll waste time if you input clean vocals.
- Little control of the mixing tools.
- Limited pitch control.
#
#
Setting Up
#
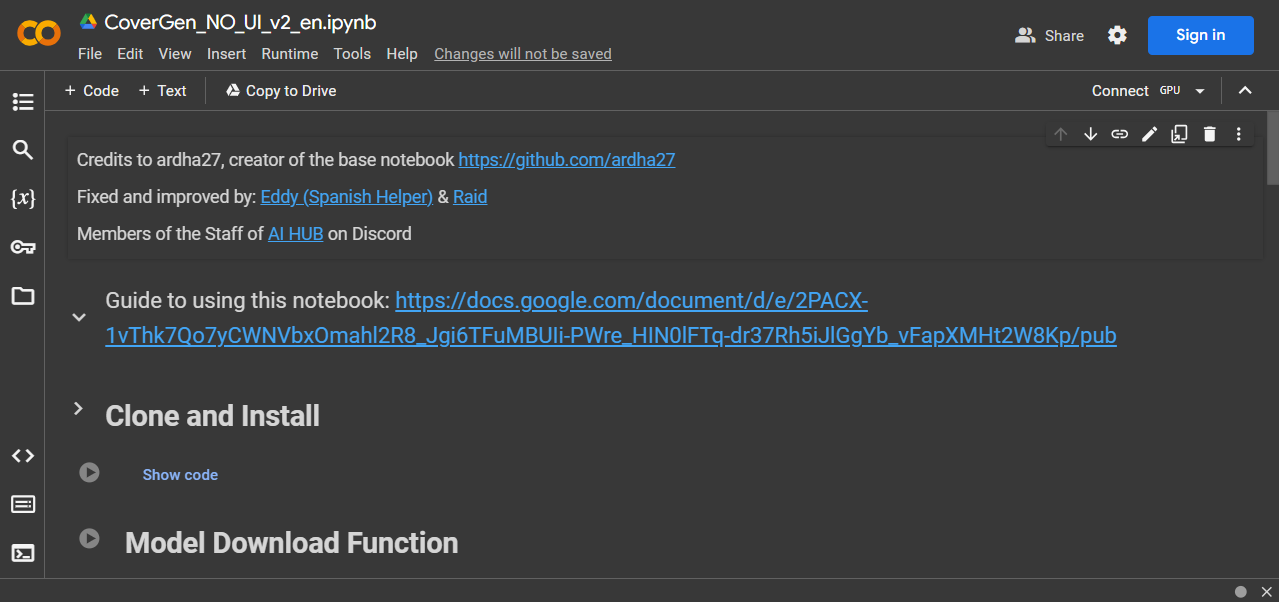
1. Enter the space
Access the Colab space here. Then Sign in to your Google account.
#
#
2. Clone and Install
Execute the
Clone and Install. This will install RVC.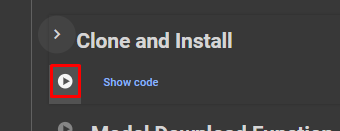
It will take around 15 minutes.
It'll be done when you see a check symbol (✔️) on the corner.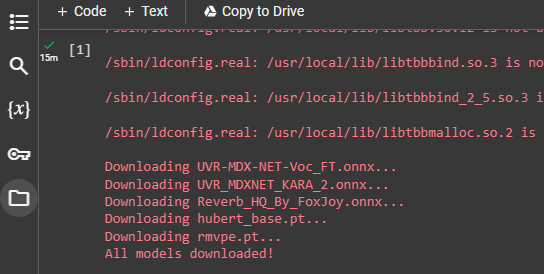
Don't worry if red text appears, it's normal.
#
#
Inference
#
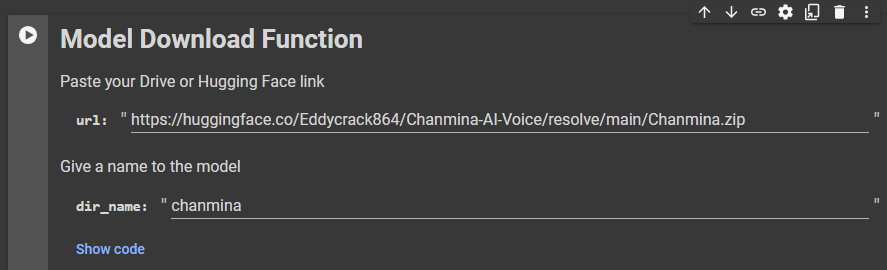
1. Download model
Go to Model Download Function cell. Paste the model's link in the url bar.
In dir_name name the model. Don't include spaces/special characters.
Then execute the cell.
Downloaded models will be saved until the Colab session ends.
#
#
2. Input the audio
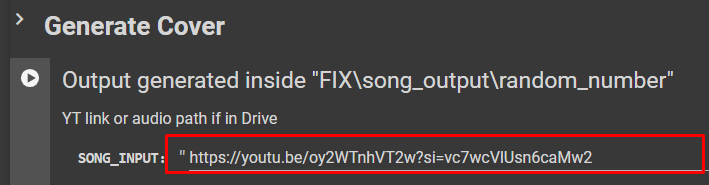
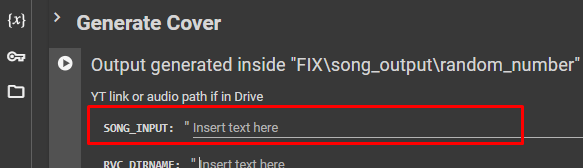
Input the vocals/song in the Generate Cover cell.
You can go about it with either a YouTube link or a Google Drive file:
YouTube link Copy a YouTube link and paste it in the SONG_INPUT bar.
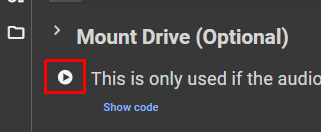
Google Drive file - Execute the Mount Drive cell below.
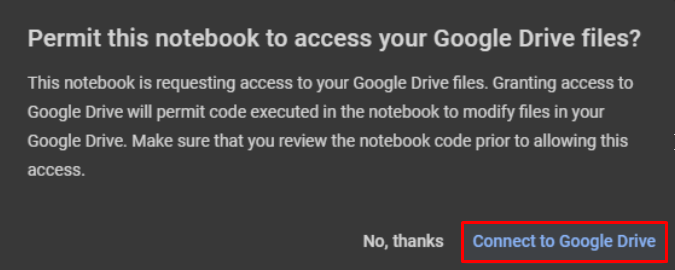
# - Click
Connect to Google Drive& select your Account.
# Click the folder symbol ( ) on the left.
(For mobile users: tap the three lines on the top left &Show file browser)Go to drive & you'll find your GD storage.
Right-click your audio & pressCopy path.
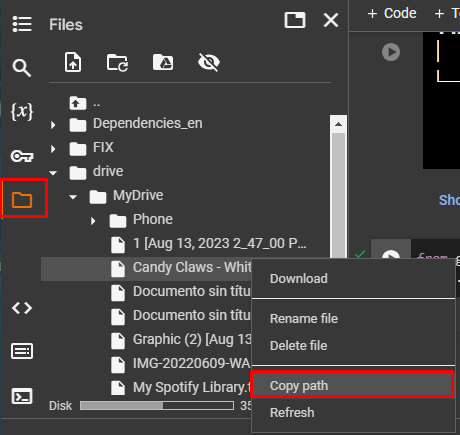
# - Paste the path in the SONG_INPUT bar.
#
#
3. Select model
In RVC_DIRNAME insert the model's name you assigned before.

#
#
4. Modify settings (optional)
Below RVC_DIRNAME until Audio Mixing Options you'll find the inference settings.
Tweak them accordingly for better results if you wish.
#
#
5. Modify mix & reverb (optional)
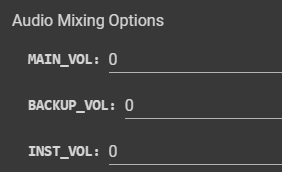
In Audio Mixing Options you can modify the values to define the volume of main/backing vocals & instrumental.
In
Reverb Controlyou can add reverb to the output vocals.
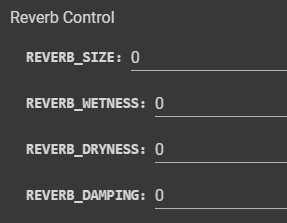
- REVERB_SIZE
- How "wide" the reverb sounds, like the size of a room.
- REVERB_WETNESS
- Volume of the reverb itself.
- REVERB_DRYNESS
- Volume of the vocals.
- REVERB_DAMPING
Level of absorption of the reverb's high frequencies:
- Higher values yield a warmer, natural-sounding reverb.
- Lower ones sound brighter & more present.
#
#
6. Begin inferring
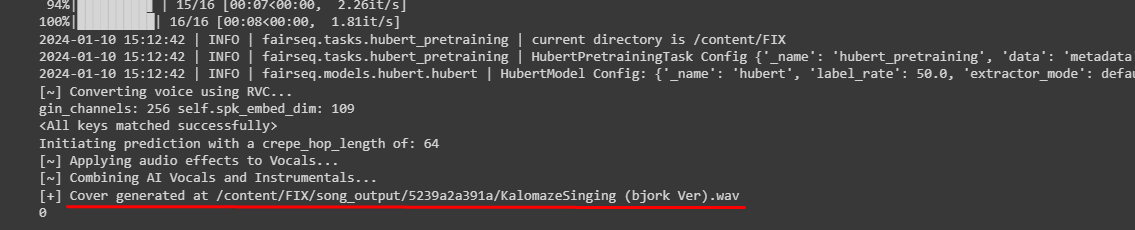
Execute the Generate Cover cell to begin the conversion.
It'll be done when the logs say Cover generated at followed by the file path.
#
#
7. Download output
Click the folder symbol ( ) on the left.
(For mobile users: tap the three lines on the top left & Show file browser)Open song_output folder & the one inside it. Right-click the first file & press
Download.
The other audios are the stems. Download them too if you wish.
#
# If the voice glitches out, click here.
#
#
AICoverGen UI
#
#
Description
This is the version that's built with the premade user interface. Port by Hina. Original repo by SociallyIneptWeeb.
It's characterized & preferred due to its intuitive UI, ideal for beginners.
But on the downside, it may be more buggy, so consider using the NO UI version if issues arise.
#
Pros & Cons
The pros & cons are subjective to your necessities.
- Automatic vocal extraction.
- Song mixing tool.
- Has Mangio-Crepe.
- Automatic model upload.
- Input audio with YouTube links
- Great UI.
- Can get the stems files.
- Quicker audio file upload.
- Usage limit for free users.
- Takes 6 mins to load.
- No control over the stem separation.
- The extraction will always run, you'll waste time if you input clean vocals.
- Little control of the mixing tools.
- Inconvenient pitch control.
- More unstable.
#
#
Setting Up
#
1. Enter the space
- Access the Colab space here.
- Then login to your Google account.
#
#
2. Define pitch
In the Clone Repository cell, select the pitch change.
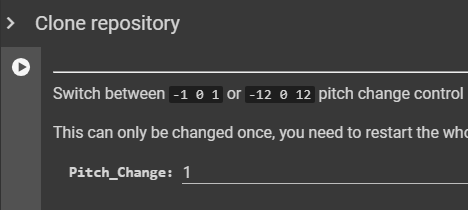
If you're going to use models of the same gender as the vocals, use
1.If they're of opposite gender, use
12To change this, you'll have to start the Colab from scratch.
#
#
3. Run cells
Then go to Runtime on top & press
Run all.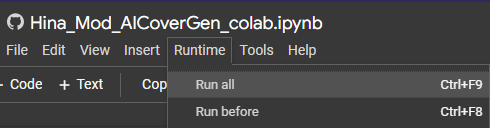
#
#
4. Open UI
After a moment the Run WebUI cell will show two links. Open the public URL one.

Don't close Colab until you're done using it, or it will stop working.
#
#
Inference
#
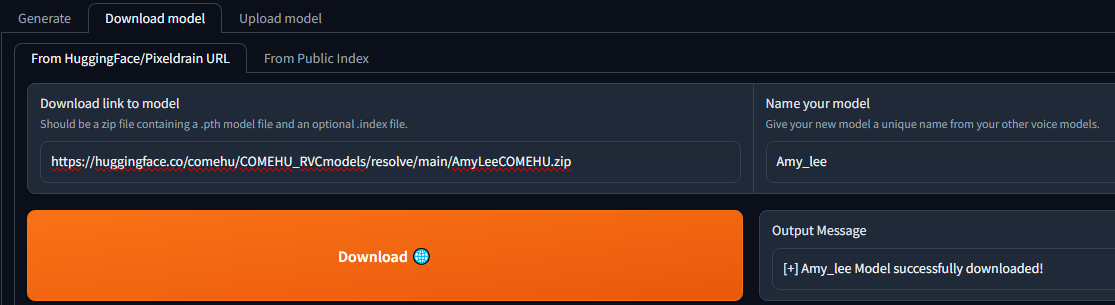
1. Upload model
You can upload it using its link or manually inputting its files.
Link Go to the Download model tab & paste the model link in the bar.
Name it in Name your model. Don't introduce spaces/special characters.
Click Download.
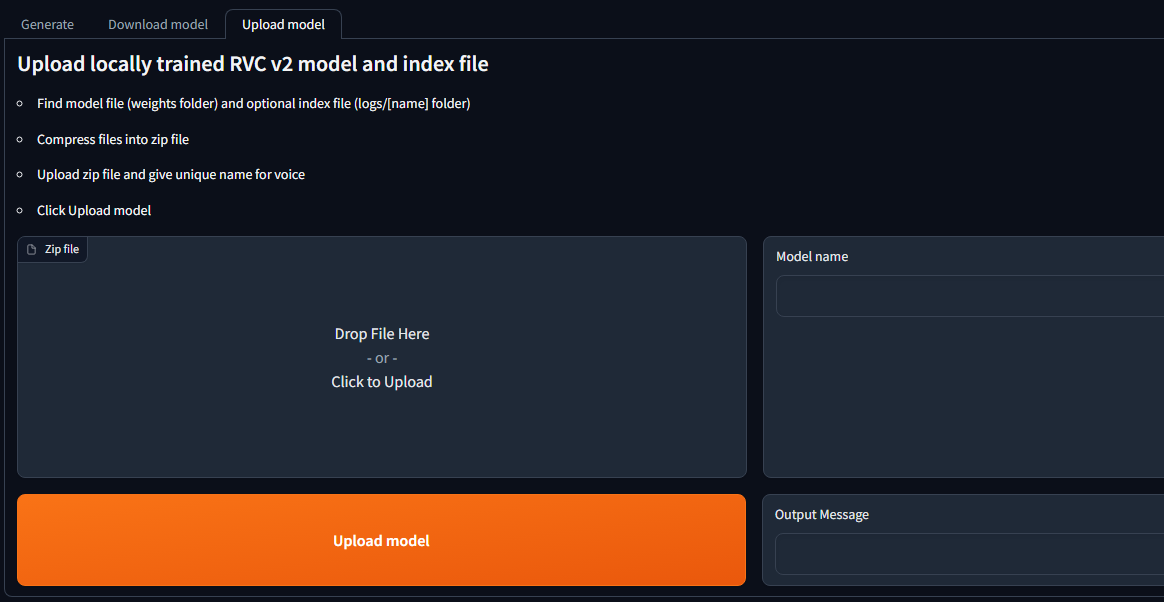
Manually Zip the model into a .ZIP file, if you haven't already.
Go to the Upload model tab, press the upload box & submit the ZIP.
Name it in Model name. Don't introduce spaces/special characters.
Press Upload model.
#
#
2. Select model
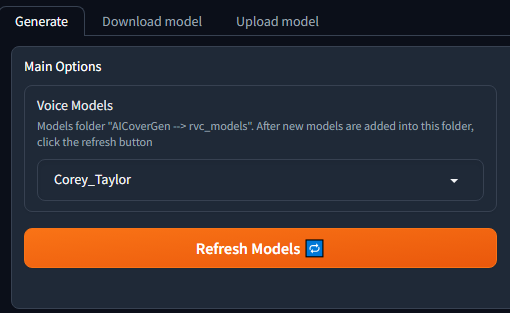
Return to the Generate tab & press Refresh Models. Then select it in the Voice Models dropdown.
#
#
3. Select audio
On its right, input the YouTube link.
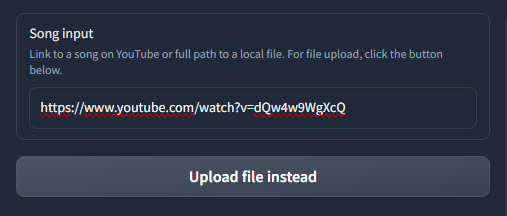
Or, press Upload file instead, click Upload & input the audio file.
#
#
4. Modify settings (optional)
- Unfold Voice conversion options to modify the inference settings for better results.
#
#
5. Select output format
Unfold Audio mixing options & set Output file type as
wav, for a better quality output.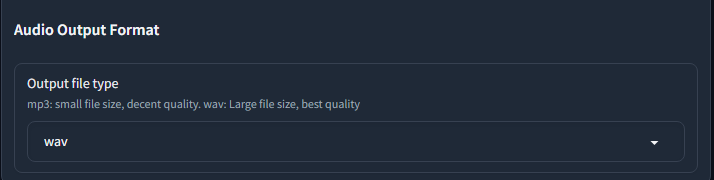
Modify the mix too if you wish.
#
#
6. Convert
Press Generate. The audio will begin processing.
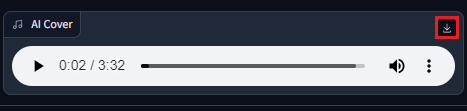
Once it's done, you can hear the results in the AI Cover output box.
To download it, press the download symbol ( ) on its right.
#
#
7. Download stems (optional)
To download the stems, go to Colab & click the folder symbol ( ) on the left.
(For mobile users, tap the three lines ( ) on the top left & Show File Explorer)Go to Hina_RVC, song_output, open the new folder, right-click the stem you wish & click
Download.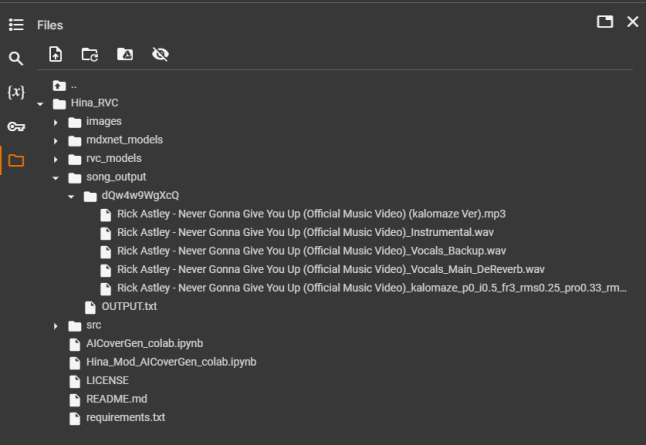
# If the voice glitches out, click here.